
Export
Learn how to export table data or query results. Export complete tables or selected ranges, and share results as an interactive web page when needed.
You can export:
- Table data: full table contents
- Selected ranges: specific rows or cells
- Query results: data returned by SQL queries
Start exports via right click (context menu), from the Export / Share panel to the right of the results grid, or directly from a SQL query in the editor.
Interactive Web Page export example. Open in a new tab
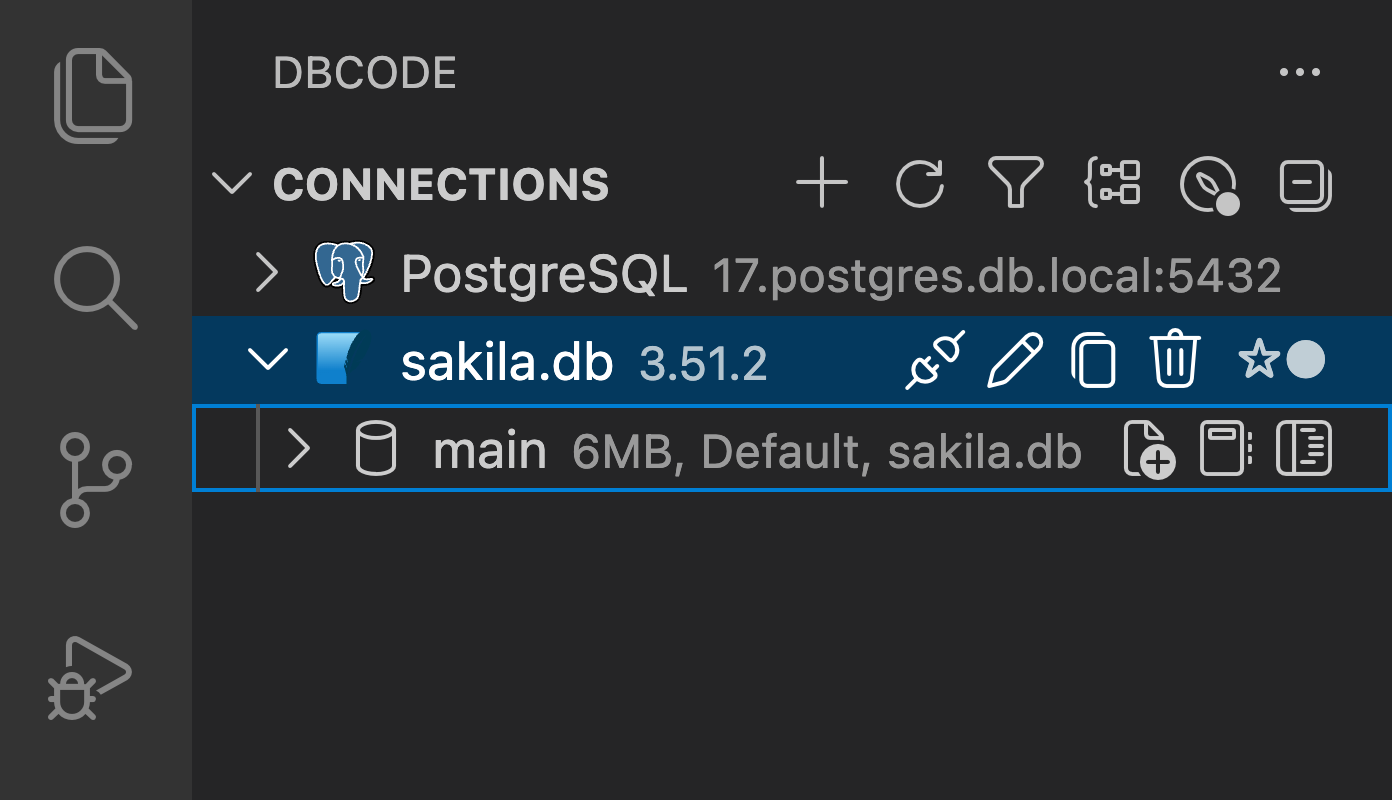
Open a Table
Section titled “Open a Table”Step 1: Connect to a database
Establish a connection in the DB Explorer pane.

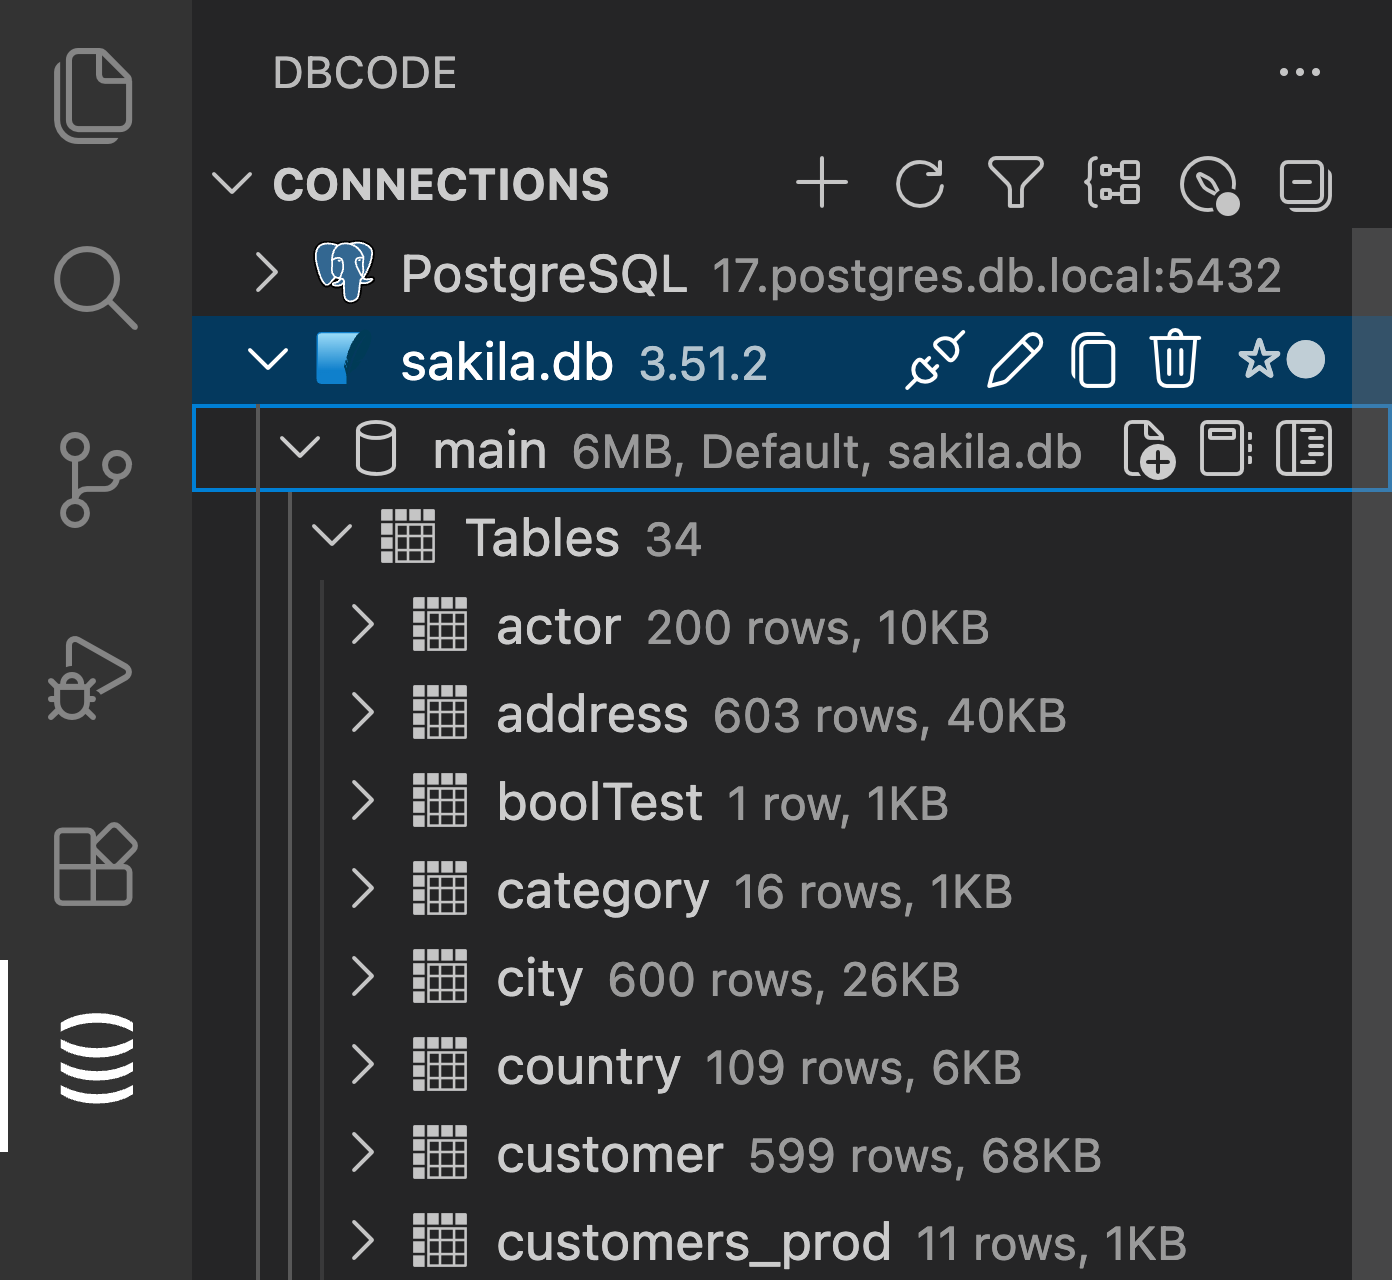
Step 2: Select a database
Choose the database you want to work with.
Step 3: Open a table
Expand Tables, then click the table you want. It opens in a new tab.
Export an Entire Table
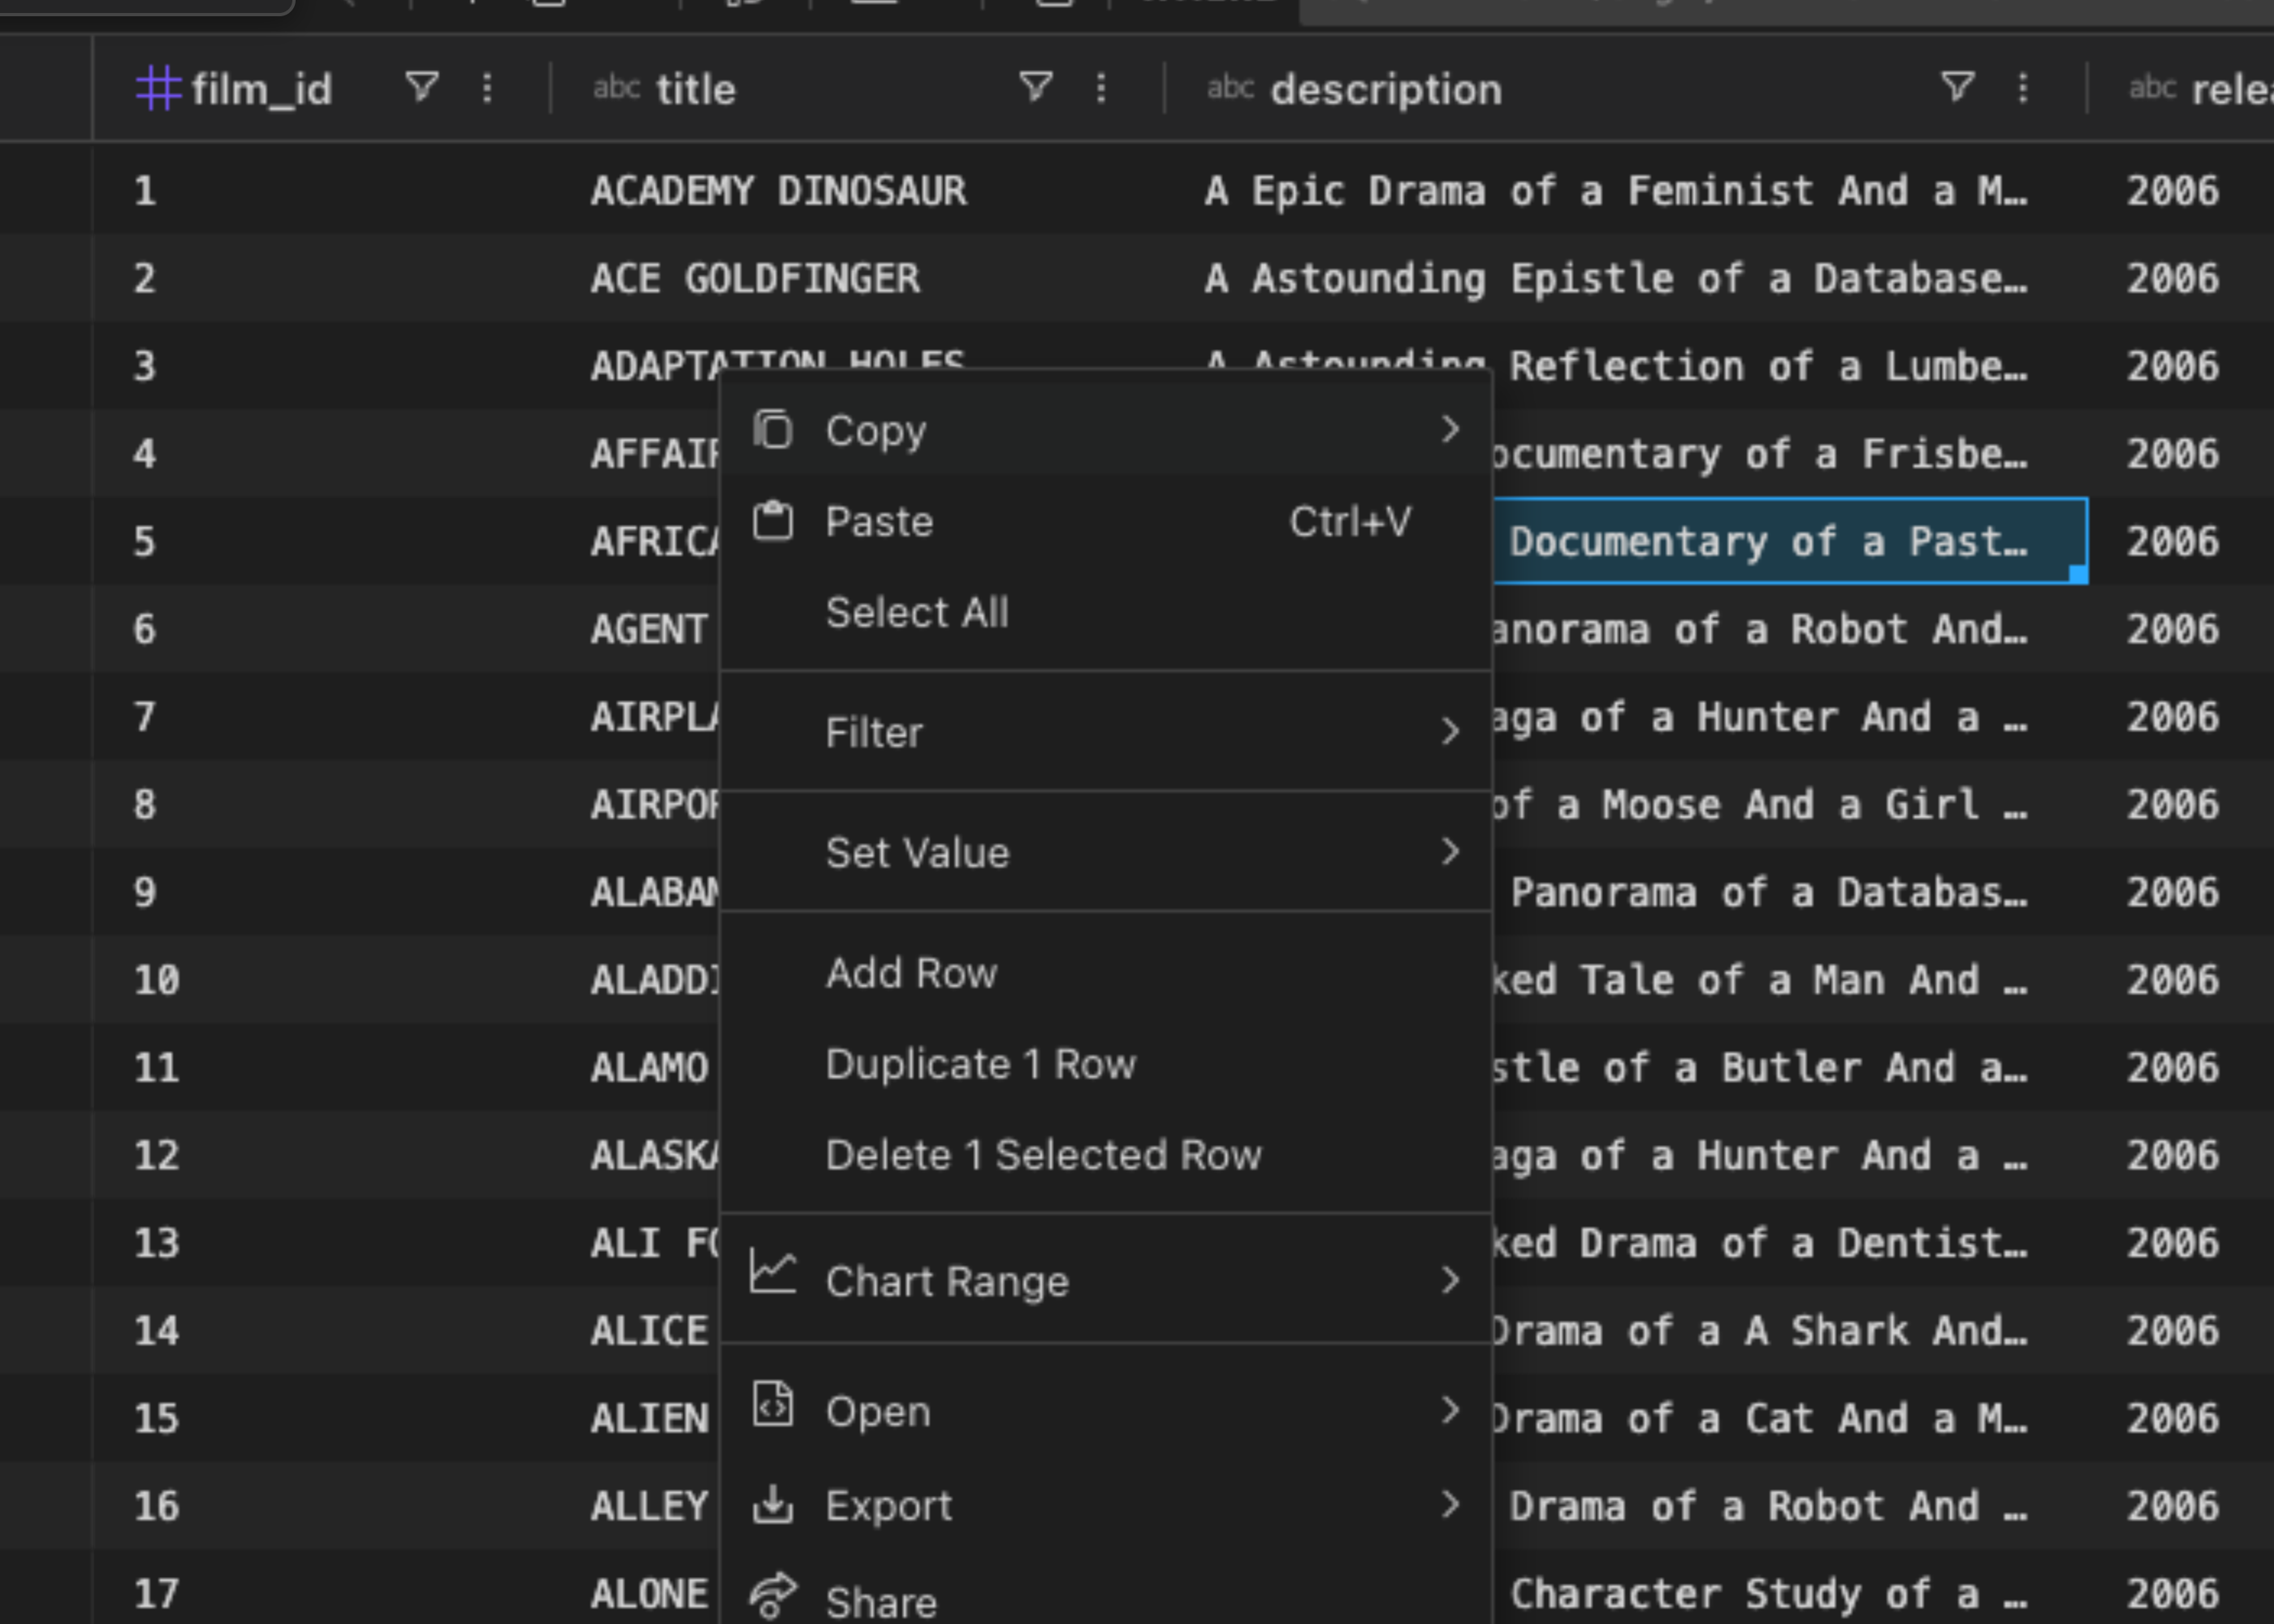
Section titled “Export an Entire Table”- Open the export menu
Right click the table to open the context menu, then hover overExport.
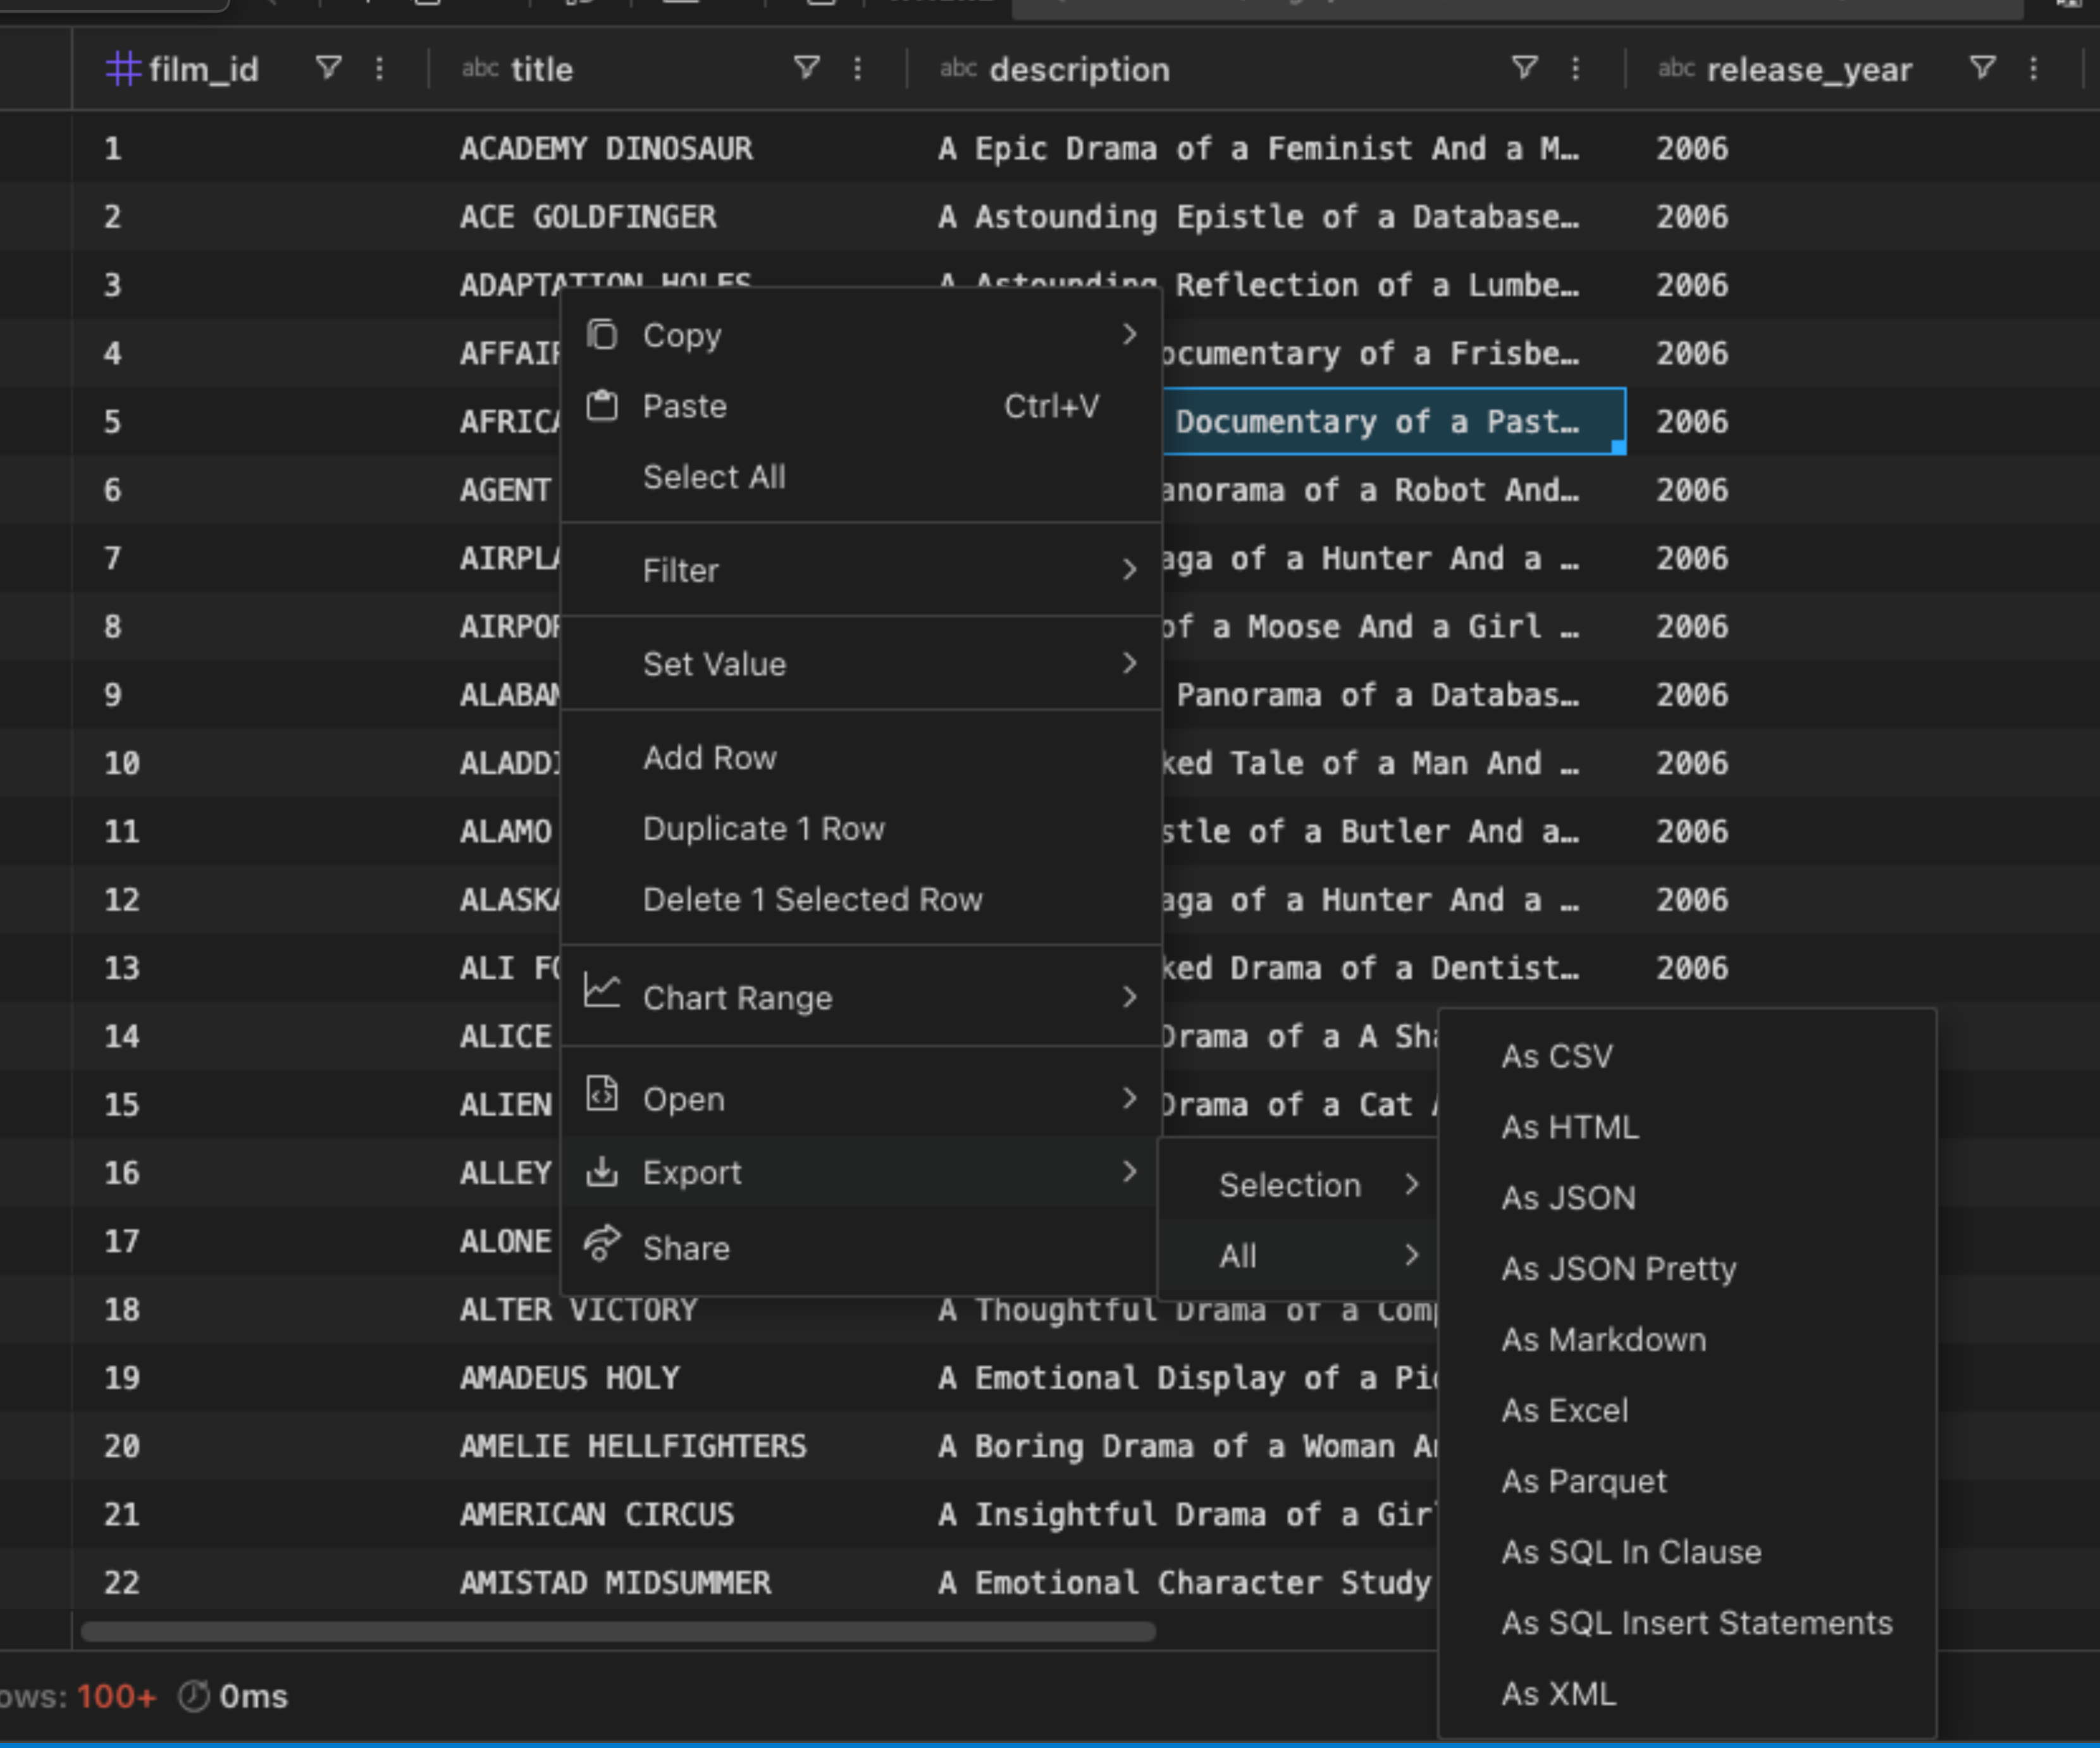
- Choose
All
SelectAll, then choose your preferred format.
- Save Pick a location, name the file, and click Save.
You can also run DBCode: Export Data from the Command Palette and pick the table or view to export.
Export a Selected Range
Section titled “Export a Selected Range”- Select the range
Highlight the rows/cells you want, then right click and chooseExport.
- Choose
Selection
SelectSelection, then choose your preferred format.

- Save
Specify a location, set a file name, and click Save.
Note: You can perform the same steps in the SQL results grid — right click inside the grid to export all rows or just your selection.
Note: To create an interactive web page export, choose the Web Page format from the Export menu or the Export / Share panel and configure options as needed.
Export from Query
Section titled “Export from Query”Run a query and write the results straight to a file, without first loading the data into the results grid. Useful when you want to run and export in one step, or when you prefer not to render the results before exporting.
-
Open a SQL file
In a connected.sqlfile, place your cursor in a SELECT statement, or select one to export. -
Trigger the export
Use any of the following:- Click the Export icon in the editor title bar (next to Execute, Explain, Analyze)
- Right click in the editor and choose
Export Query Results - Run
DBCode: Export Query Resultsfrom the Command Palette
-
Pick a format and destination
Choose a format (CSV, Excel, JSON, Parquet, etc.), then pick where to save the file. -
Run
DBCode executes the query and writes results to the file. Progress shows in a notification, and the query is recorded in your execution history.
Note: Export from Query supports a single SELECT statement at a time. Place your cursor inside the statement or highlight it before running the export.
Supported Export Formats
Section titled “Supported Export Formats”You can export table data in a range of formats, including:
- CSV (Comma-Separated Values)
- Excel (XLSX)
- HTML (Static table markup)
- Web Page (Interactive HTML; options to include SQL, export date/time, title, and password protection)
- JSON (JavaScript Object Notation)
- JSON Pretty (Formatted JSON for readability)
- Markdown (For documentation purposes)
- Parquet (Columnar storage format optimized for analytics workflows)
- SQL In Clause (SQL format for use in
INconditions) - SQL Insert Statements (SQL script for re-inserting data)
- XML (Extensible Markup Language)
Excel exports include a Query worksheet when SQL is available. To omit it, disable dbcode.export.includeQueryInExcel in VS Code settings. The setting is enabled by default.
These formats are available for both full table exports and selected data ranges, offering flexibility based on your requirements.