
Drop Table
This guide shows how to drop a table from the DBCode Explorer without writing a SQL command.
Select Database Connection
Section titled “Select Database Connection”- In the DBCode Explorer, connect to the database containing the table you want to drop.
- Expand the connection and database that contain the table.
Locate and Select the Table
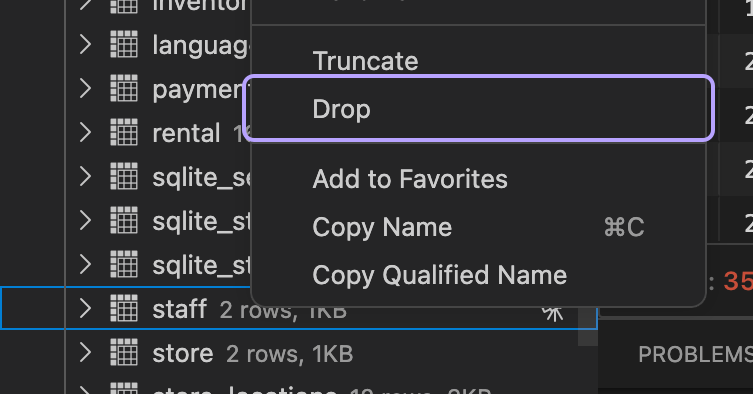
Section titled “Locate and Select the Table”- Browse the table list and find the table you want to drop.
- Right-click the table name and select Drop from the context menu.
Confirm the Drop Action
Section titled “Confirm the Drop Action”- If DBCode asks for confirmation, review the table name carefully before confirming.
- To stop the operation, cancel the confirmation prompt.
Verify Success
Section titled “Verify Success”- After DBCode completes the operation, the DBCode Explorer refreshes to reflect the removed table.