
Connect to Your Database with VSCode
Create a new connection, connect to a cloud provider, or use the sample database included with the extension.
Create a New Connection
Section titled “Create a New Connection”-
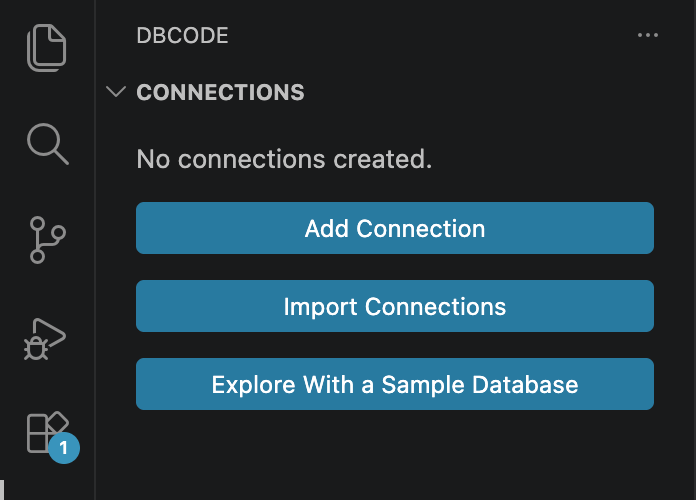
Open Visual Studio Code and click on the DBCode icon in the activity bar (usually on the left-hand side).
-
Click the “Add Connection” Button, or the + icon in the explorer. Or open the command palette Ctrl/Cmd+Shift+P and select the “DBCode: Add Connection” option.
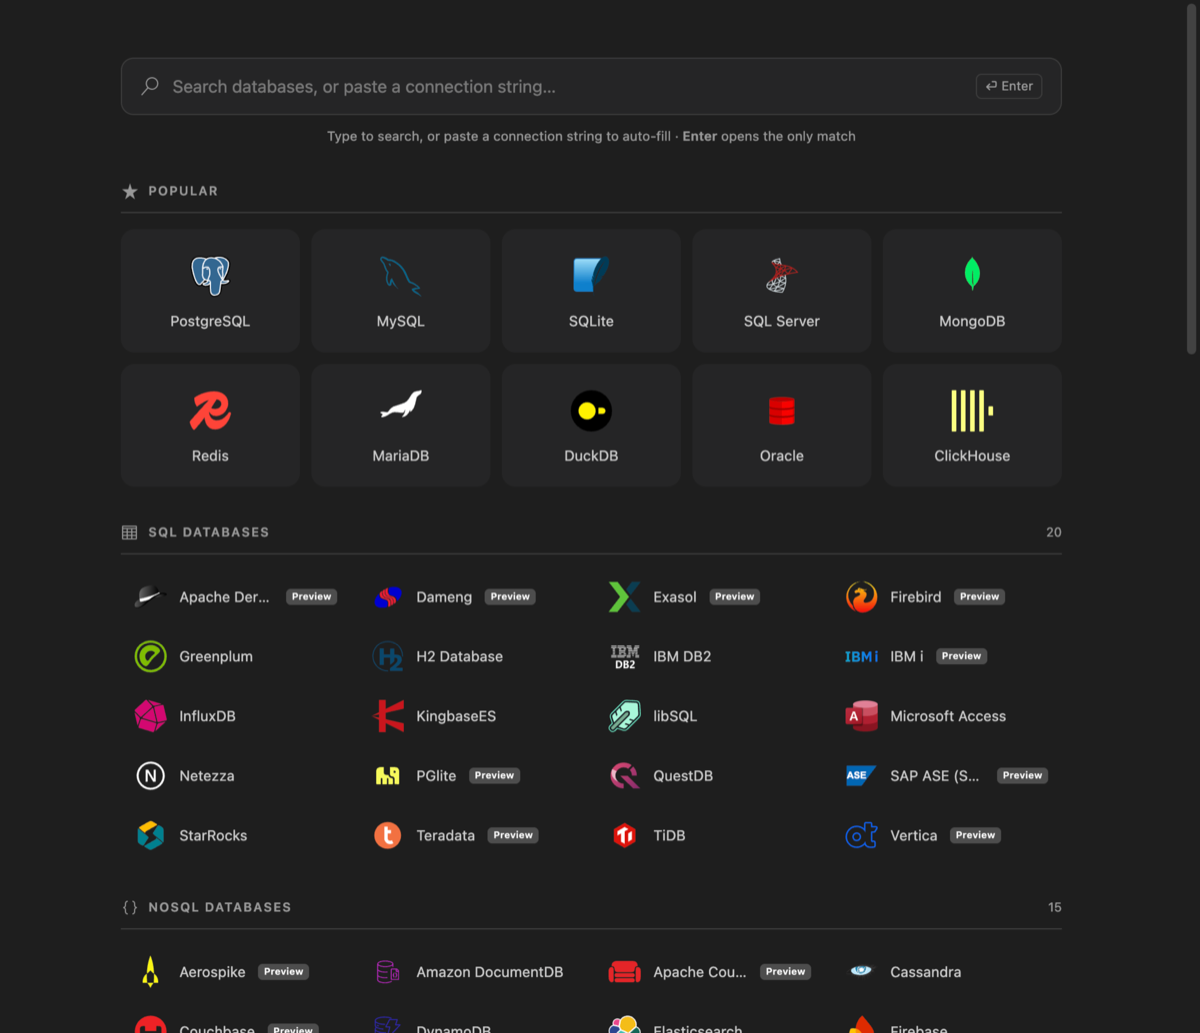
- Select the database type you want to connect to, then enter the server details:
- Server Name: A name for the connection (e.g., My Database).
- Host: Enter the server’s host address (e.g., localhost or the IP address of your server).
- Port: Input the server’s port number, usually 3306 for MySQL, 5432 for PostgreSQL, or 1433 for SQL Server.
- Username: The username for the database server.
- Password: The password for the database server.
- Database: The name of the database you want to connect to.

-
Save the Connection:
- After entering all the required details, click the “Save” button to establish the connection.
-
The new connection will be saved, and you can start exploring the data and features of DBCode.
Connect a Cloud Provider
Section titled “Connect a Cloud Provider”Using a cloud provider grants access to all databases within that provider without needing to configure each one individually.
For more information, check out the connect a cloud provider article.
Use the Sample Database
Section titled “Use the Sample Database”To use the sample database included with the extension, follow these steps:
-
Open Visual Studio Code and click on the DBCode icon in the activity bar (usually on the left-hand side).
-
Click the “Explore With a Sample Database” button from the explorer. Or open the command palette Ctrl/Cmd+Shift+P and select the “DBCode: Explore With a Sample Database” option.
-
Select the “Sample Database” option.
- The sample database will be loaded, and you can start exploring the data and features of DBCode.