
DB Explorer
Create or Edit Tables
A step-by-step guide on how to create or edit tables in a database without writing SQL.
Creating a New Table
Section titled “Creating a New Table”-
Select the Database Connection
-
Start by choosing a database connection from DB Explorer.
-
Select the desired database from the list.

-
-
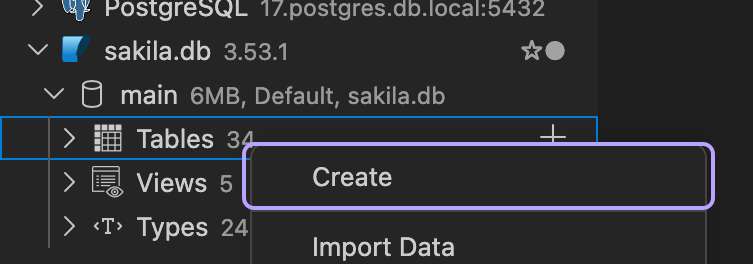
Open the Table Creation Menu
- Hover over Tables in the database menu, right-click, and choose Create Table.
-
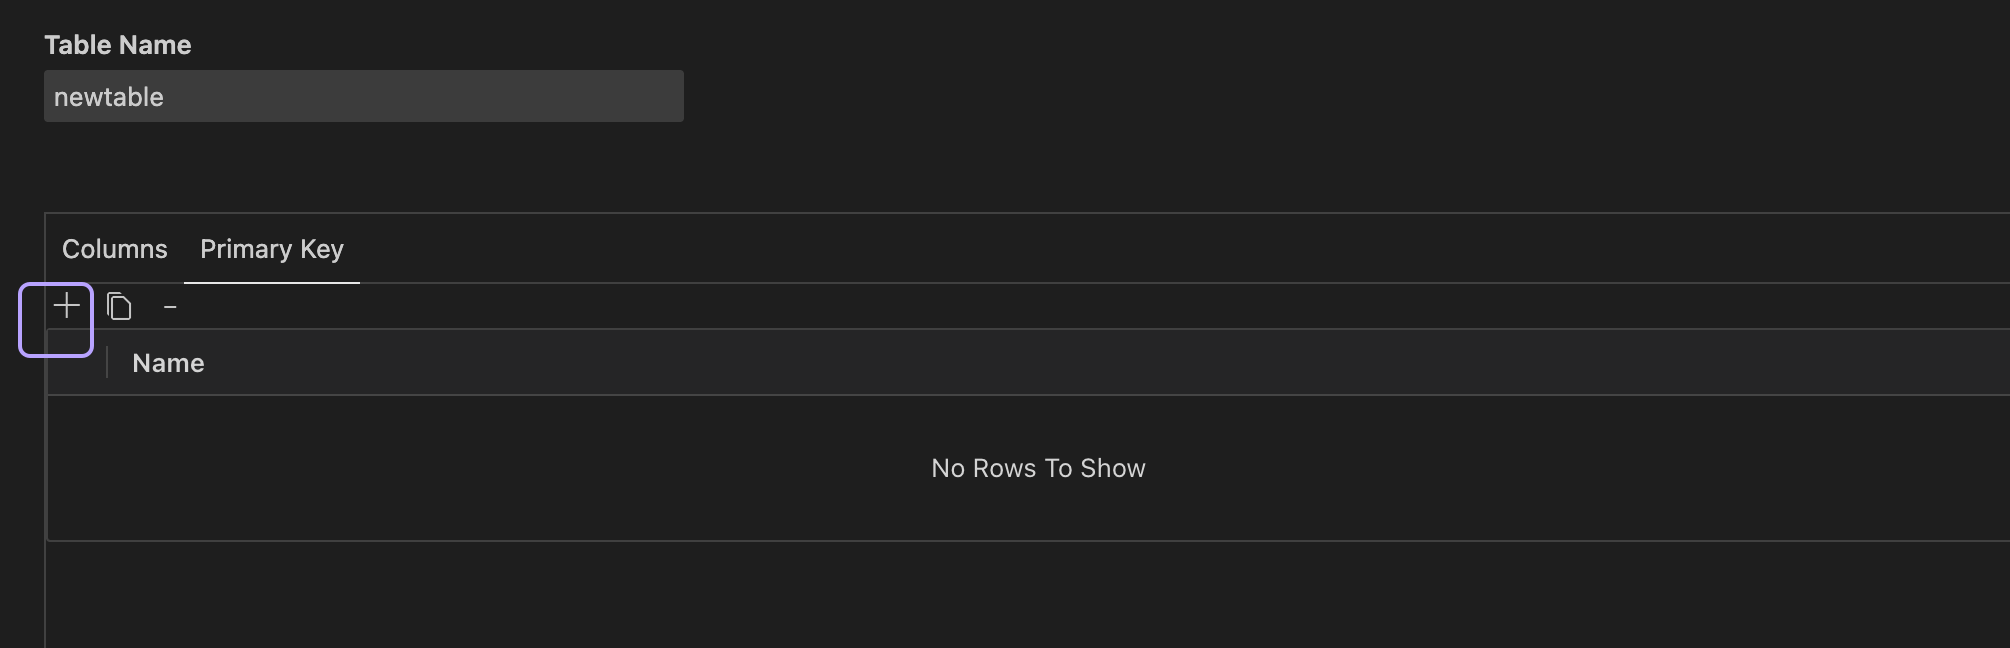
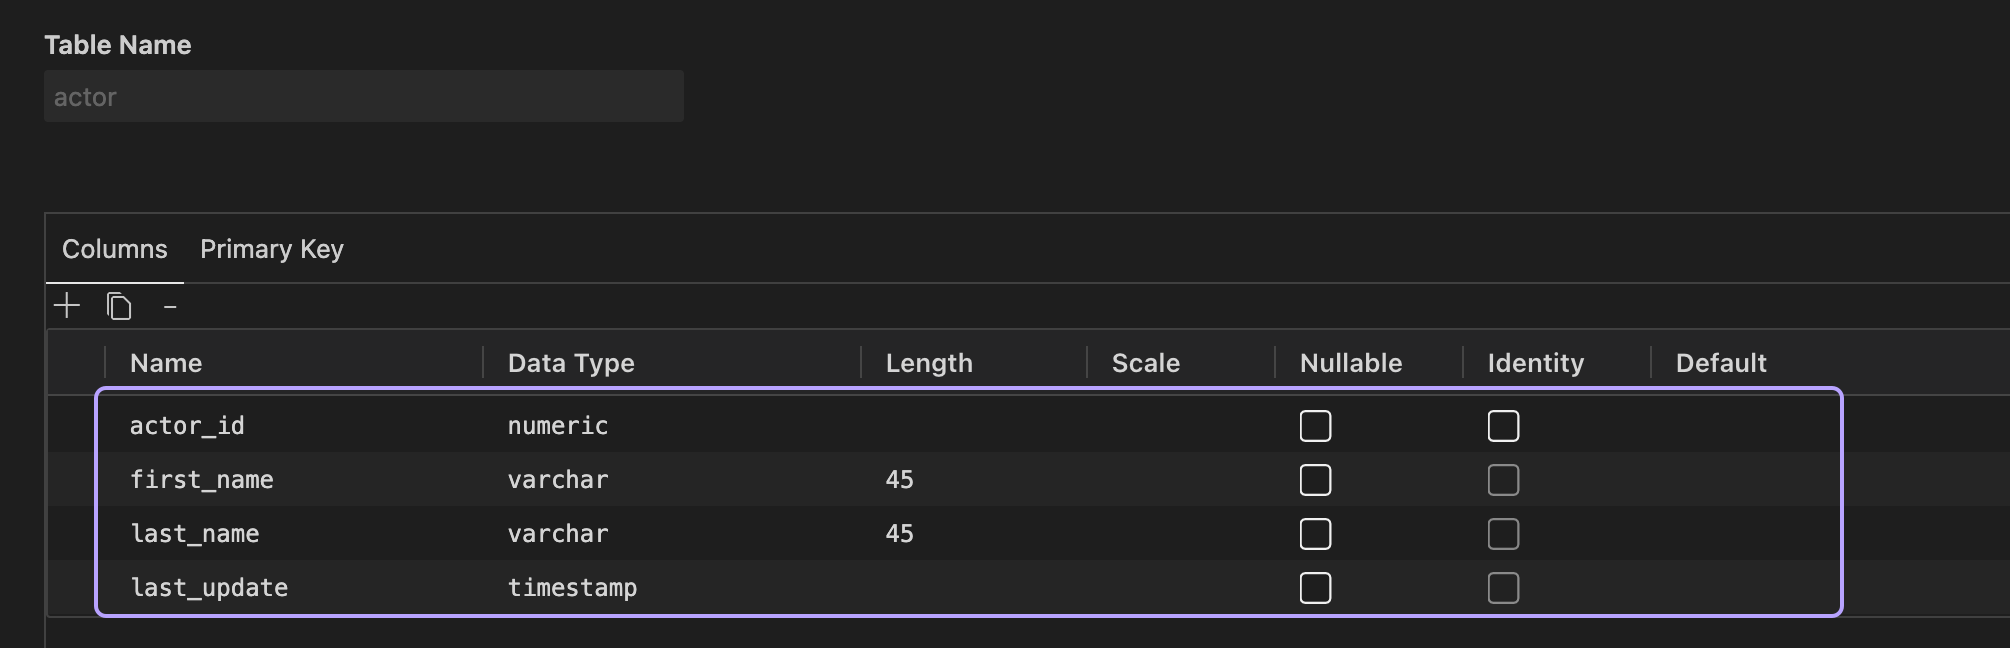
Define Table Structure
-
A new tab will open where you can define your table’s structure. Start by setting a table name, then add columns by clicking the
+icon. -
For each column, specify:
- Column Name
- Data Type
- Nullable option (optional)
- Identity for auto-increment (optional)
- Default Value (optional)
-
-
Preview SQL Code
- Use the sidebar to preview the SQL code generated by your changes.
-
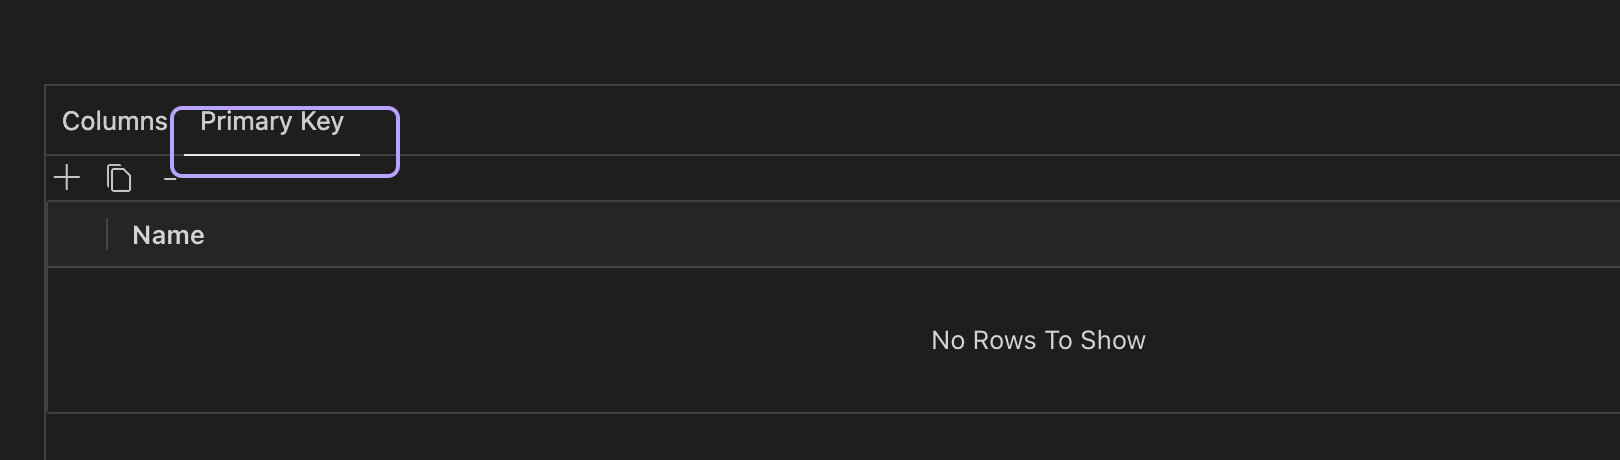
Set Primary Key
- Switch to the Primary Key tab, select the column(s) you want as the primary key, and apply your choice.
-
Apply Changes
- Click on Apply and Close. When prompted, confirm the changes by selecting Yes.
Editing an Existing Table
Section titled “Editing an Existing Table”-
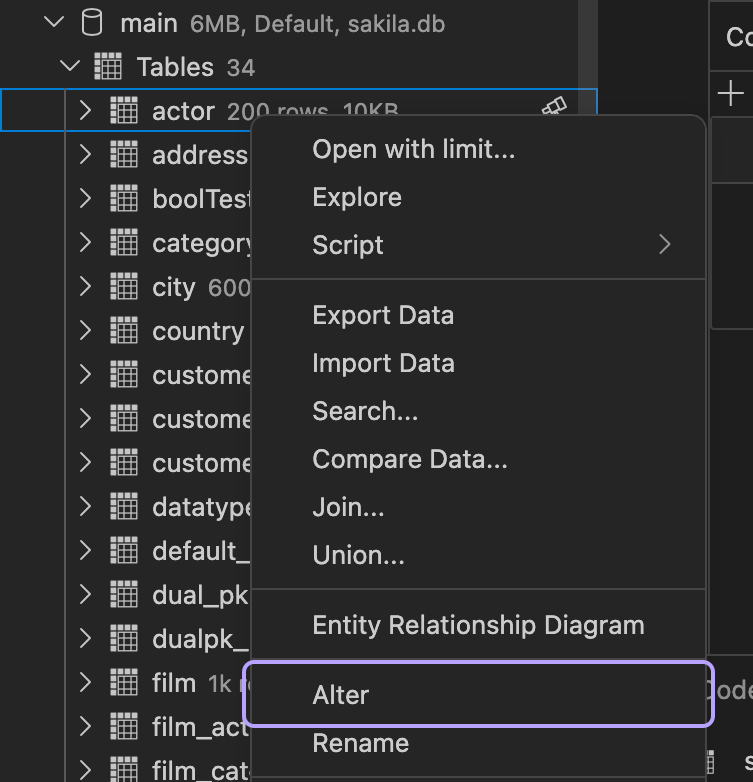
Select Table to Edit
- From the database tables list, right-click on the table you want to modify and select Alter.
-
Modify Table Structure
-
A new tab will open, allowing you to adjust the existing table structure. You can modify column details like data type, length, nullable status, identity, and default values.
-
To add new columns, click the
+icon below the columns tab.
-
-
Apply Changes
- Once done, click Apply and Close to confirm. A prompt will ask if you’d like to apply changes to the database. Click Yes to finalize.