
Getting Started
Creating a New Notebook
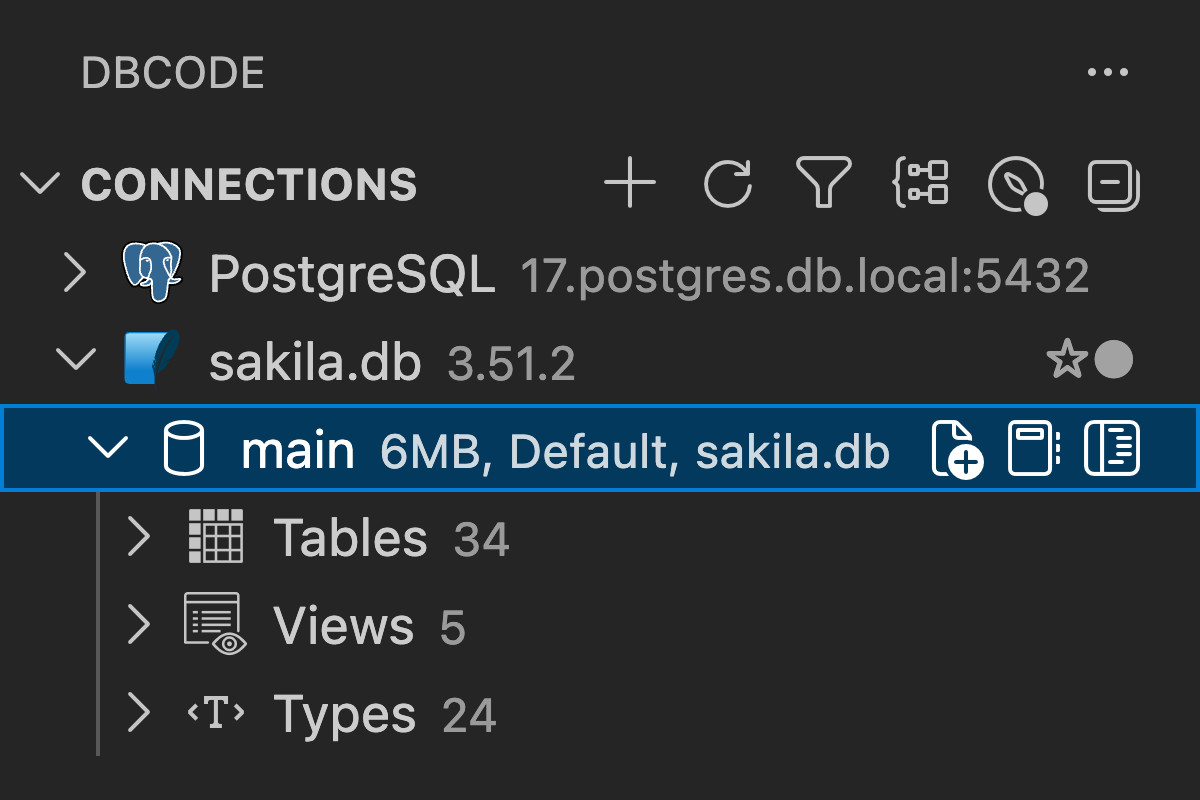
Section titled “Creating a New Notebook”To open a new notebook click the “Create a new DBCode Notebook” icon that appears in the DBCode Explorer, when you hover over a database.
Working with Cells
Section titled “Working with Cells”Adding a Cell
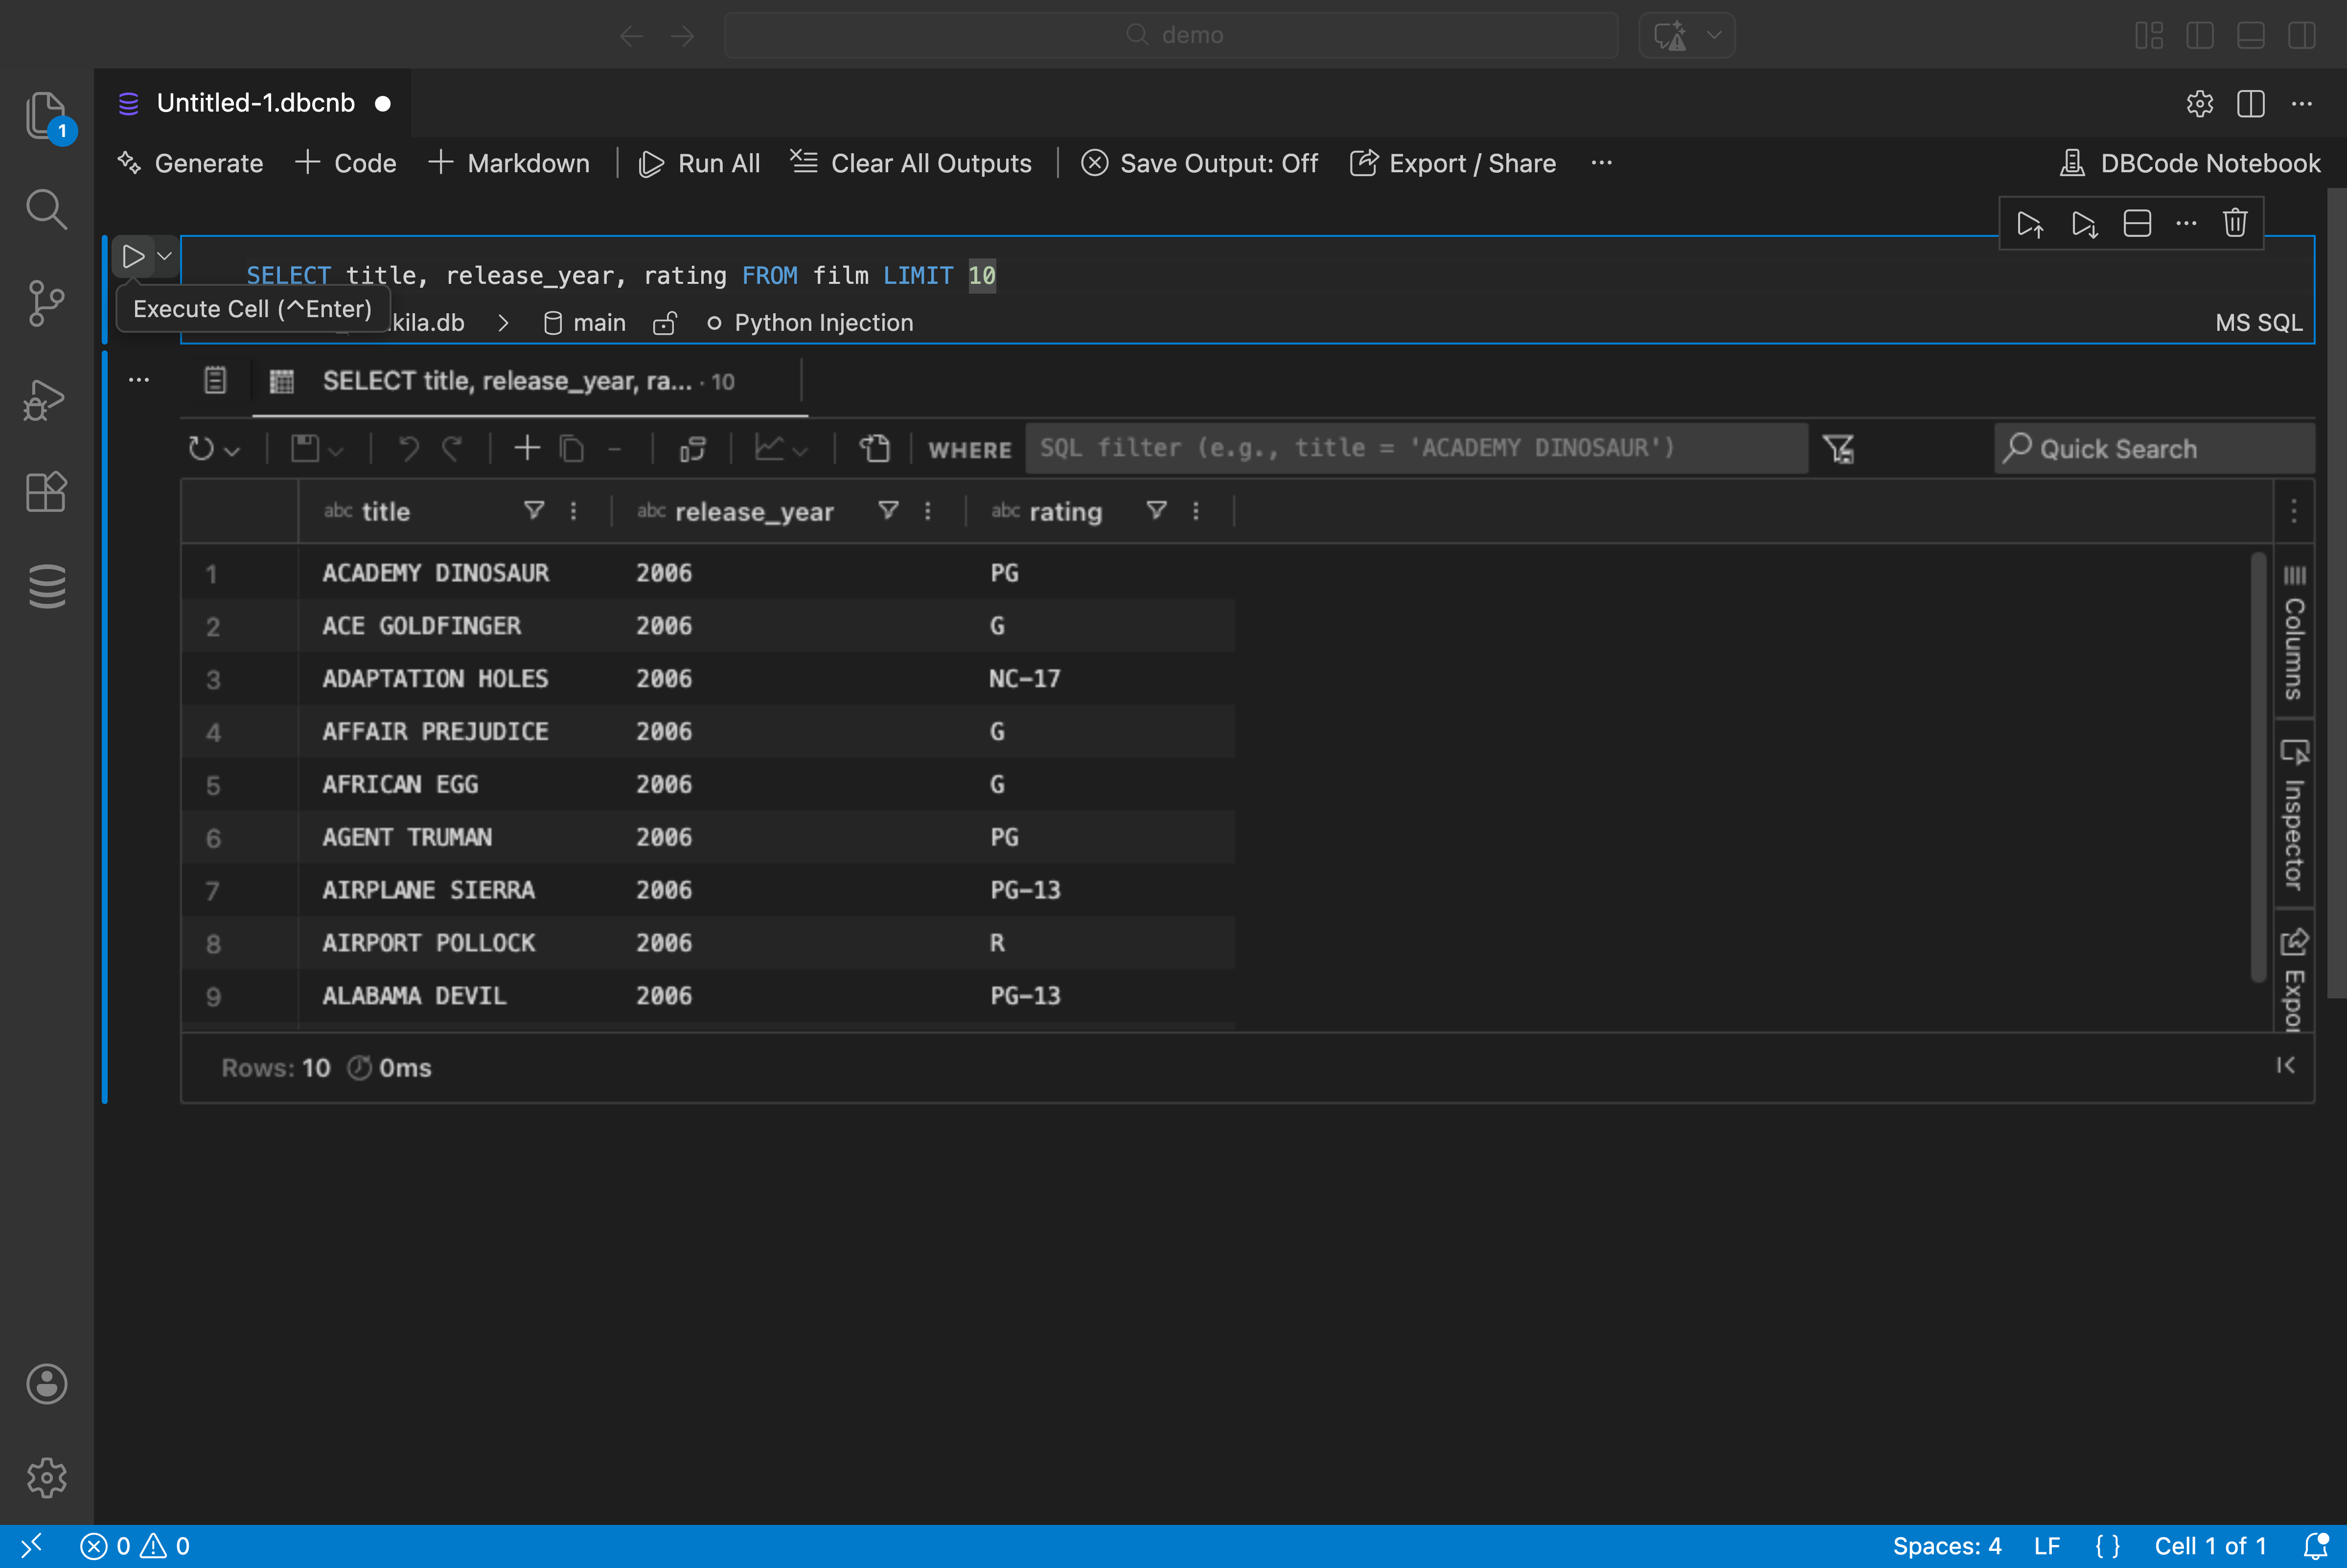
Section titled “Adding a Cell”To add a cell, click the “Add code cell” button at the top.

You can also add a cell from the “More Actions…” button in the cell toolbar.

Additionally, you can hover with your mouse at the top or bottom of a cell and choose whether to insert a cell above or below.

Executing Queries
Section titled “Executing Queries”Execute a Single Cell
Section titled “Execute a Single Cell”To execute a specific cell, click the “Execute cell” button to the left of the code cell you wish to run.
Execute All Cells
Section titled “Execute All Cells”If you have more than one code cell and would like to execute them all, click the “Run All” button at the top.

Execute Cells Above
Section titled “Execute Cells Above”To execute the cells above the current one, click the “Execute Above Cells” button in the cell toolbar.

Execute Cell and Below
Section titled “Execute Cell and Below”To execute the selected cell and all cells below it, click the “Execute Cell and Below” button in the cell toolbar.

Result Behavior
Section titled “Result Behavior”Result Tabs in Notebooks
Section titled “Result Tabs in Notebooks”Each cell execution creates a new result tab by default, allowing you to compare results. The dbcode.notebook.maxTabs setting controls how many tabs are kept per cell output.
When using single-tab mode (dbcode.notebook.maxTabs set to 1), re-executing a cell will refresh the existing result tab instead of creating a new one. This preserves any chart configuration you’ve created.
Note: Unlike the SQL Editor, the Shift key modifier for toggling refresh-in-place is not available in notebooks since Shift+Enter is used to run cells. Use single-tab mode if you always want to refresh in place.
Cell Management
Section titled “Cell Management”Joining Cells
Section titled “Joining Cells”If you would like to join a cell with the cell above or below it, find these options by clicking the “More Actions…” button in the cell toolbar. This helps in organizing and managing your code more efficiently.
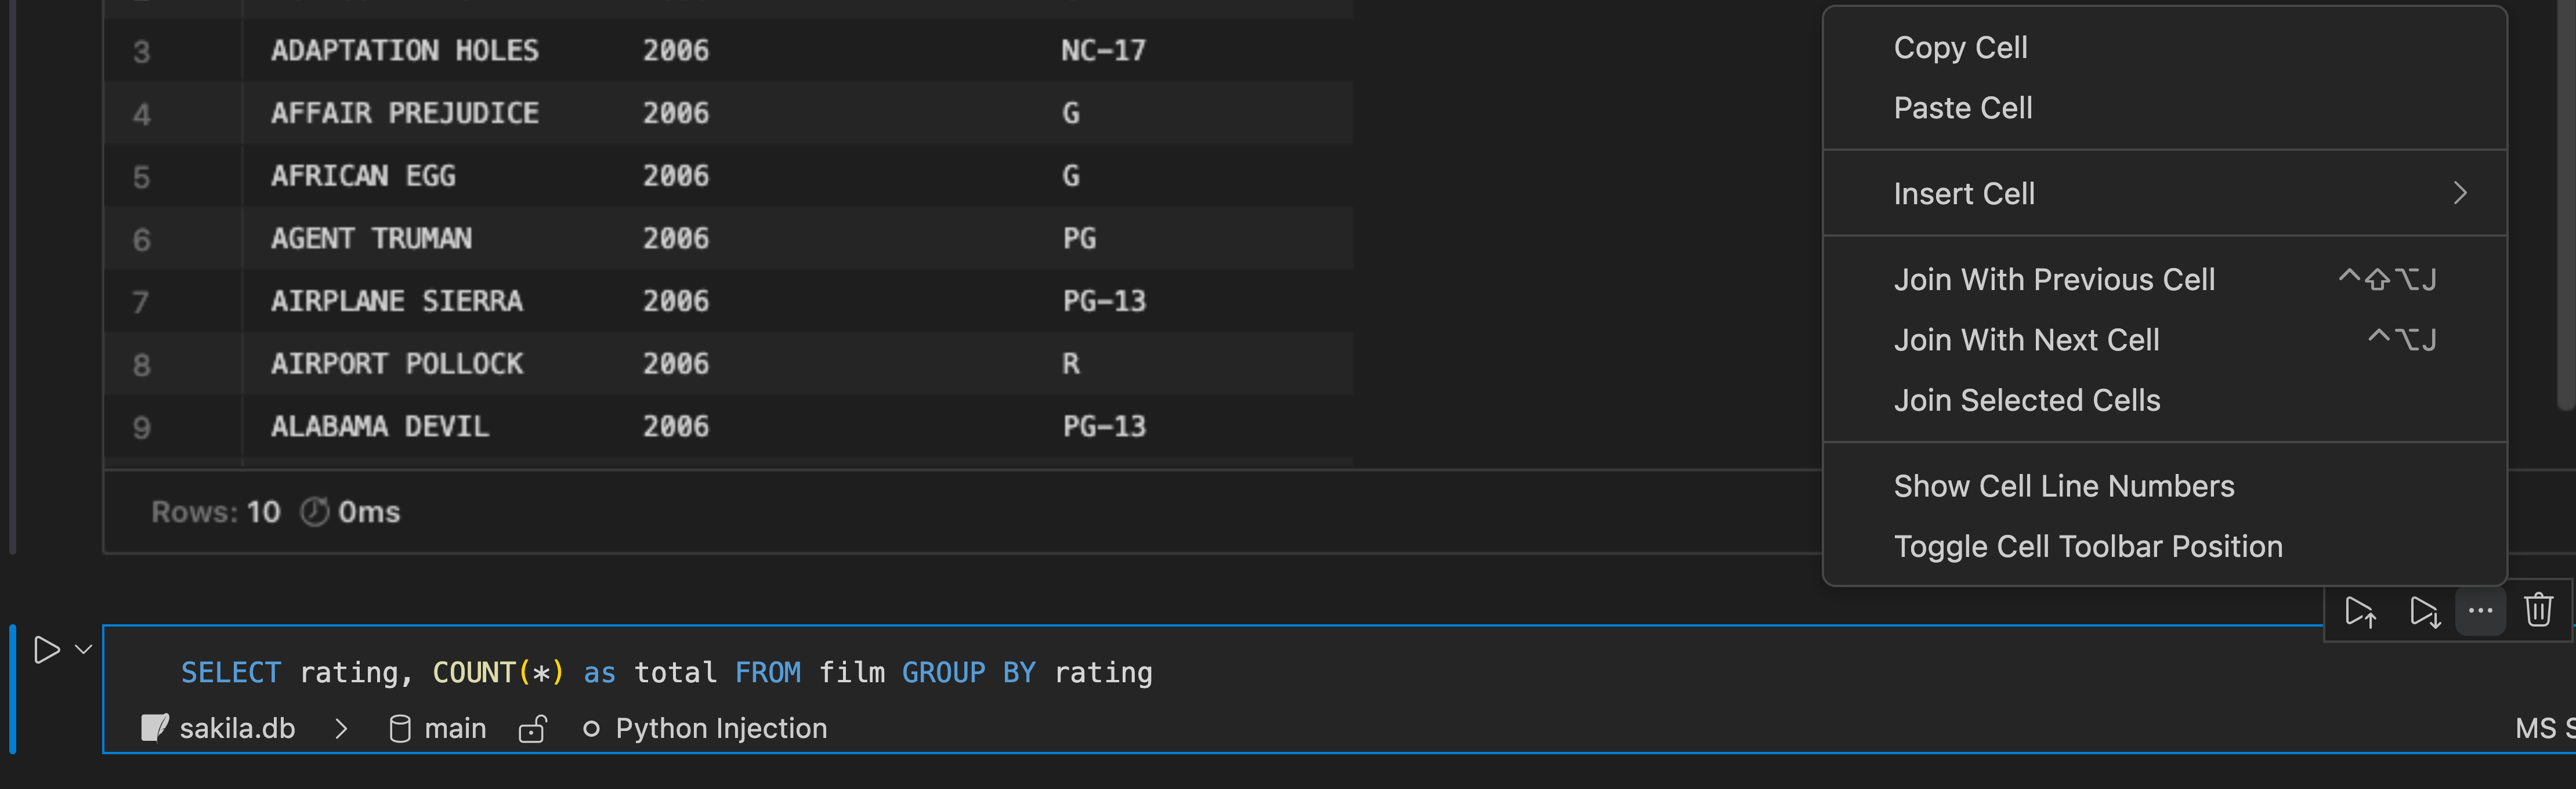
Joining with Previous Cell
Section titled “Joining with Previous Cell”This combines the current cell with the one above.
Joining with Next Cell
Section titled “Joining with Next Cell”This combines the current cell with the one below.
Tips for Getting Started
Section titled “Tips for Getting Started”- Start Simple: Begin with basic SQL queries to get familiar with the interface
- Use Markdown: Add markdown cells to document your analysis and findings
- Experiment: Notebooks are perfect for iterative data exploration
- Save Frequently: Remember to save your work as you progress
- Organize: Use descriptive cell names and organize your analysis logically
Next Steps
Section titled “Next Steps”Once you’re comfortable with the basics, explore:
- Python Integration to analyze SQL results with Python
- Exporting your notebooks
- Cell Locking for specific database connections
- Query Parameters for dynamic queries across cells