
Entity Relationship Diagram
View Entity Relationship Diagrams for related tables.
Select a Database
Section titled “Select a Database”-
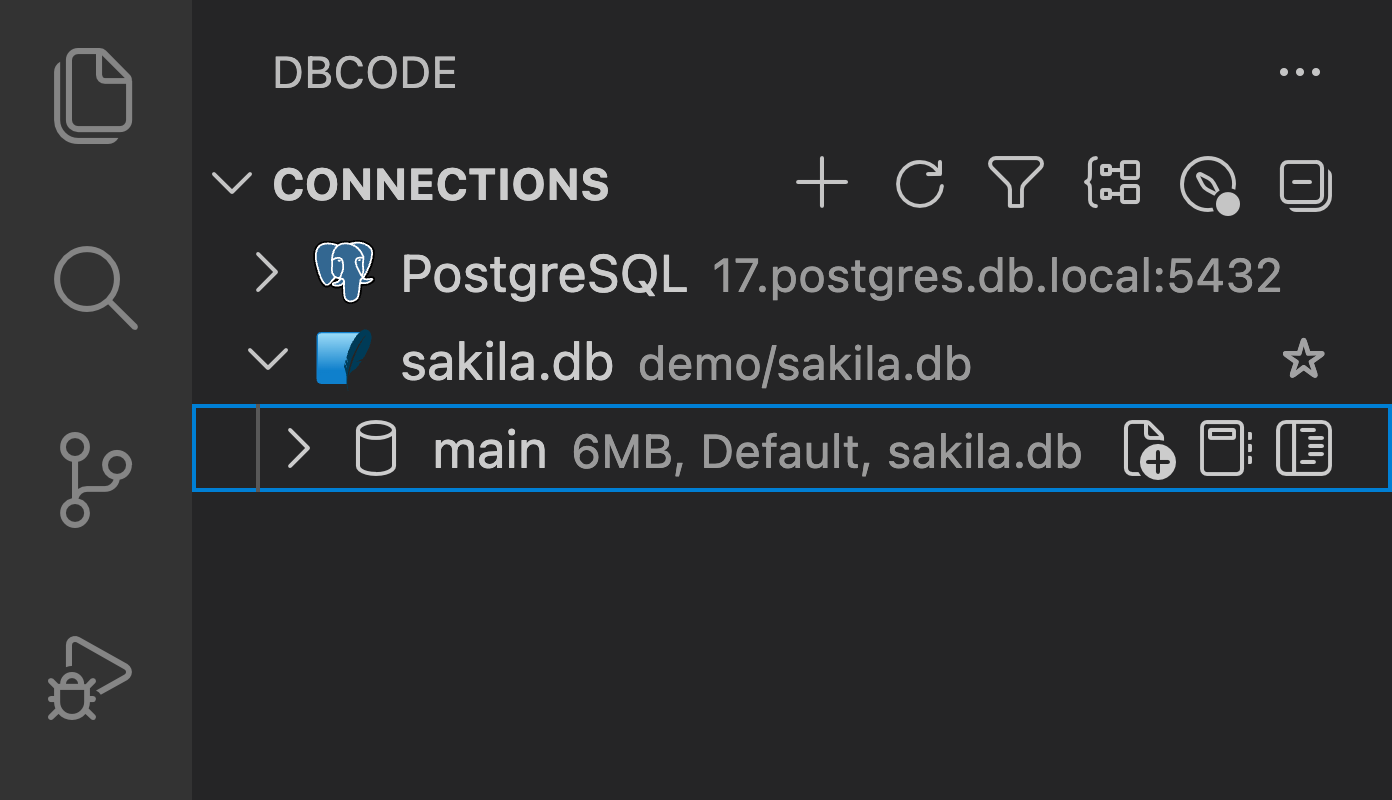
Start by selecting a database connection from the DB Explorer.
-
Choose the desired database.
Access the Entity Relationship Diagram
Section titled “Access the Entity Relationship Diagram”-
Hover over Tables in the database menu.
-
Right-click to open the context menu, then select Entity Relationship Diagram.

-
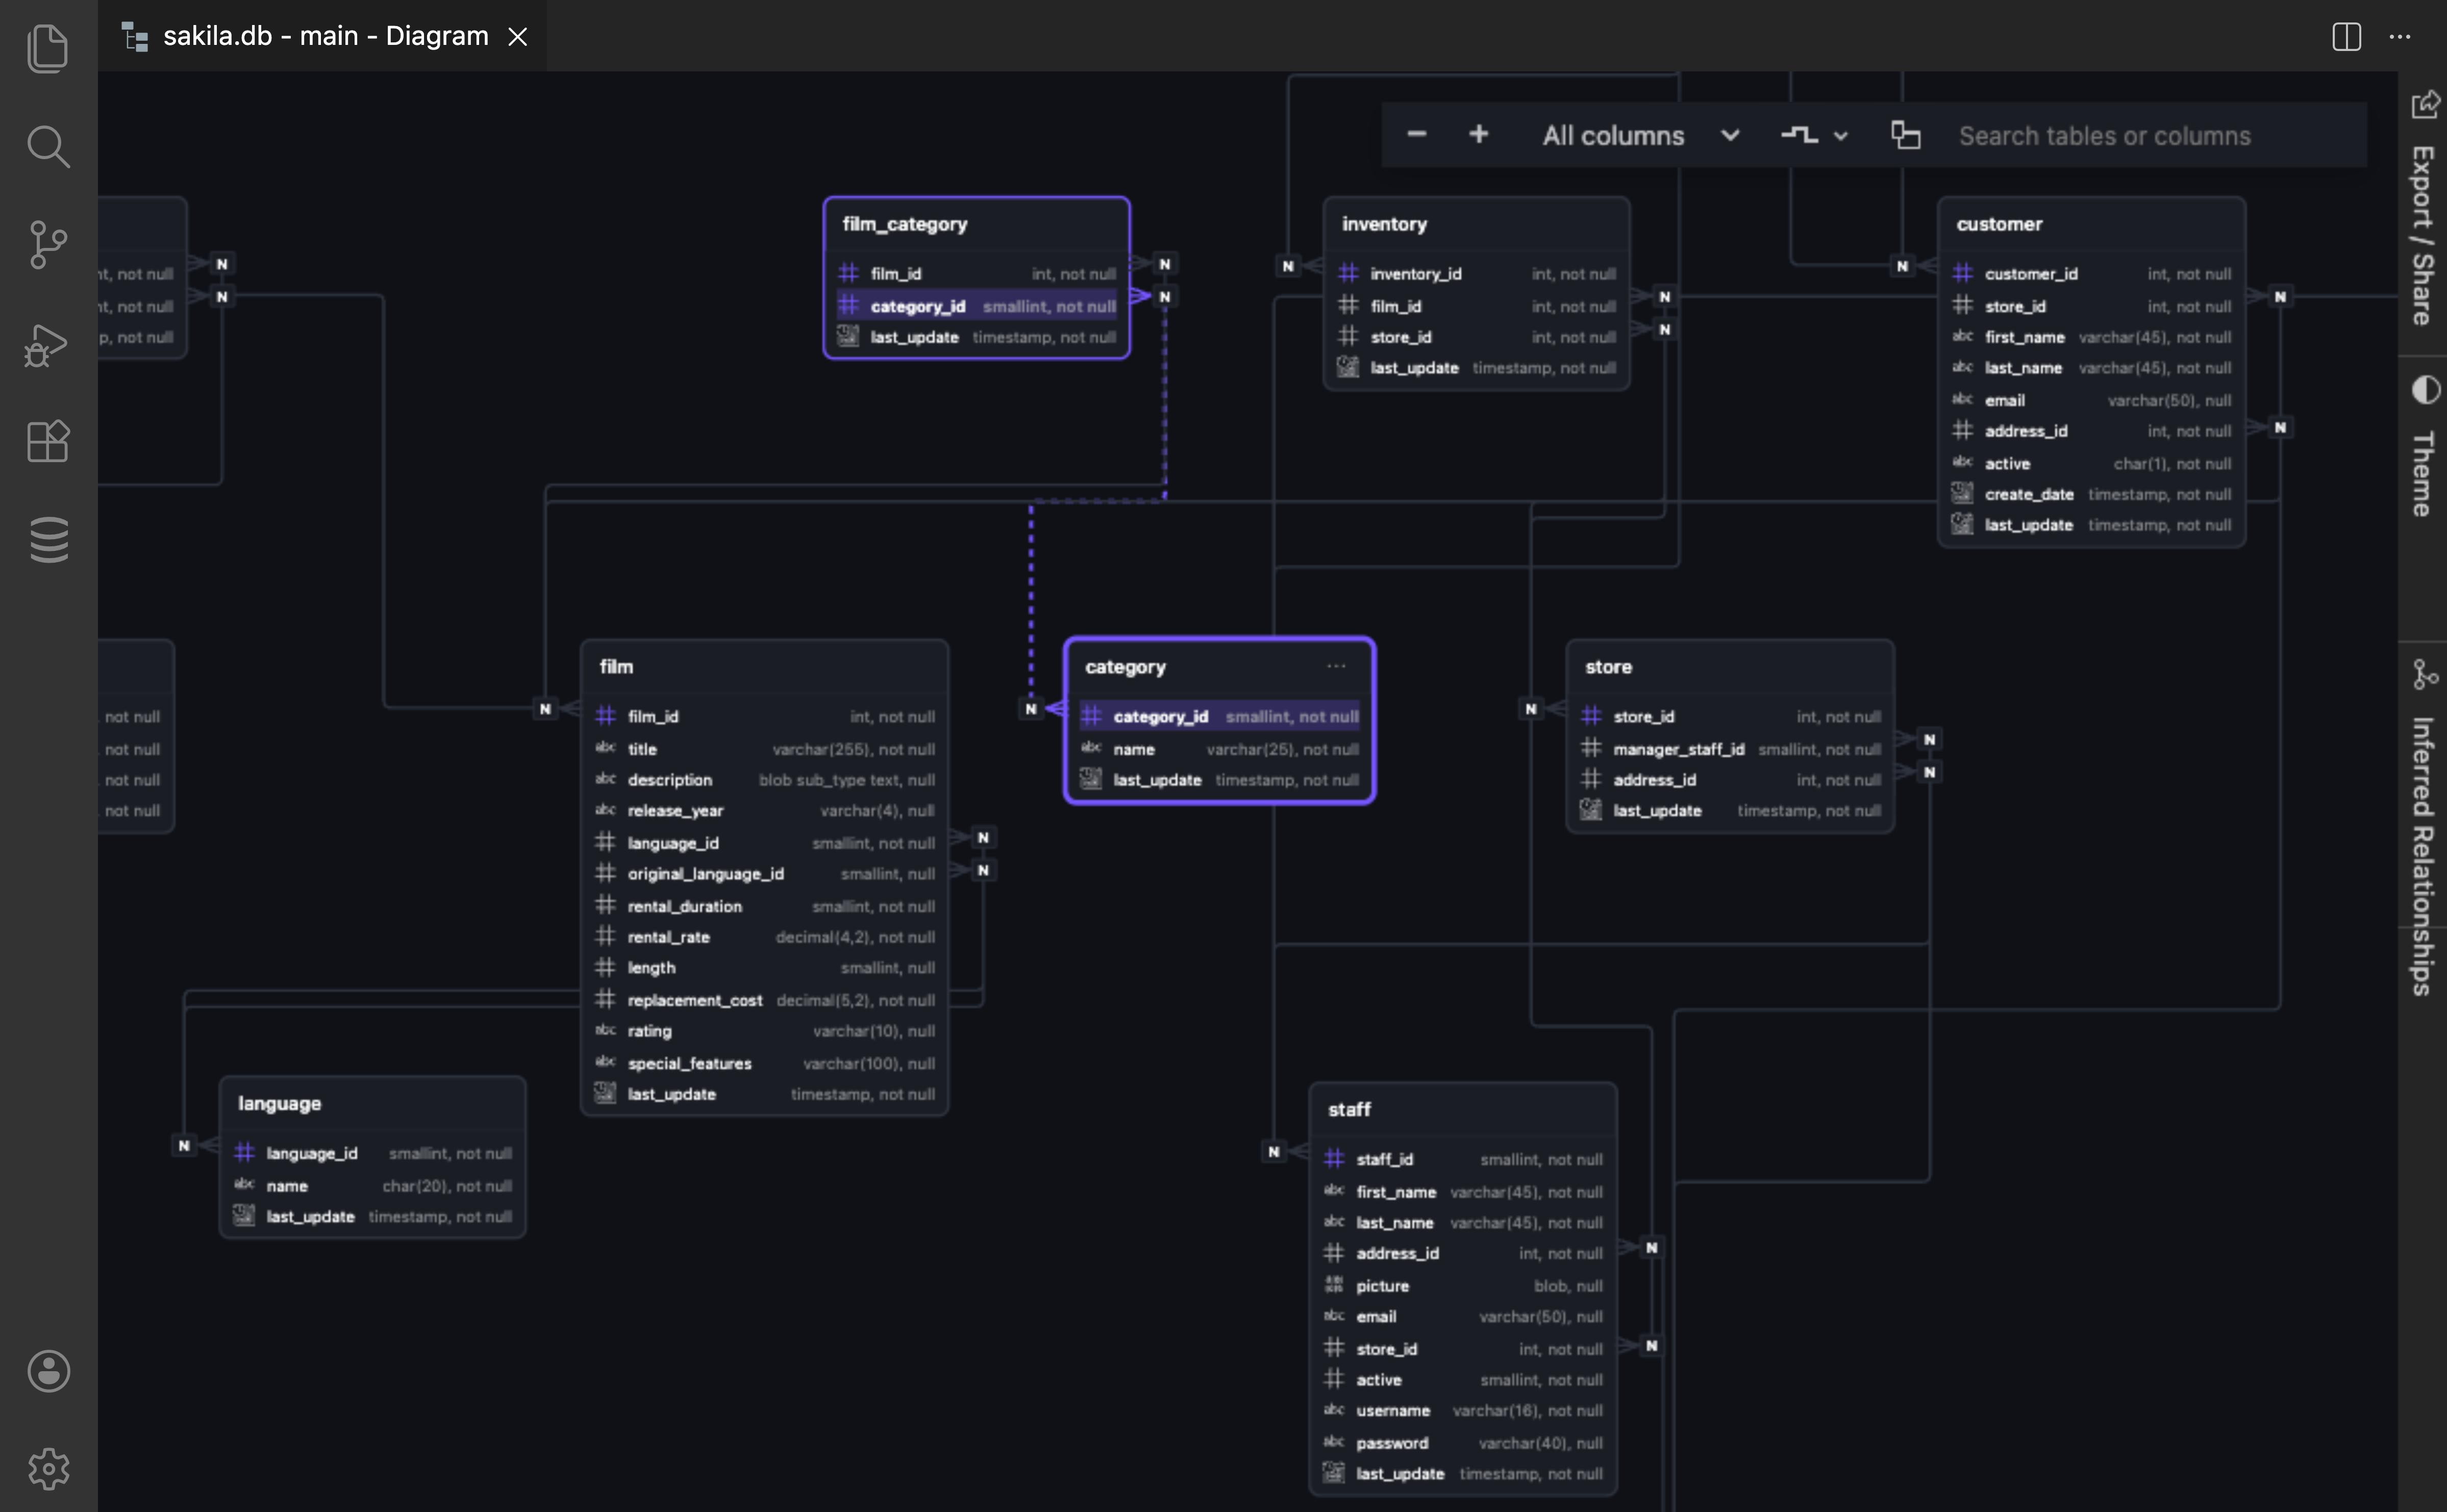
A new tab will open, displaying the Entity Relationship Diagram. You can adjust the layout of the diagram by dragging tables to reorganize the view.
Multiple Schema Support
Section titled “Multiple Schema Support”When you open an Entity Relationship Diagram, you can select which schemas to include:
-
Right-click on Tables in the DB Explorer.
-
Select Entity Relationship Diagram from the context menu.
-
A schema selector will appear in the toolbar if multiple schemas are present in the database, allowing you to choose one or more schemas.
-
Tables from all selected schemas will be displayed together in the diagram.
Interactive ERD Example
Section titled “Interactive ERD Example”Here’s an interactive example of what an Entity Relationship Diagram looks like in DBCode. This example was created using DBCode’s share feature, which allows you to publish your ERDs as interactive web pages:
Open in new window ↗Export and Share Options
Section titled “Export and Share Options”DBCode provides multiple ways to export and share your Entity Relationship Diagrams, making it easy to document your database design or share it with team members and stakeholders.
Export as PDF
Section titled “Export as PDF”Generate a professional PDF version of your ERD:
-
Once the Entity Relationship Diagram is open, look for the Export / Share button in the toolbar.
-
Choose PDF format from the export options.
-
Optional: Set a password to protect the PDF content for sensitive database schemas.
Export as PNG
Section titled “Export as PNG”Save your ERD as a high-resolution image:
-
Click the Export / Share button in the toolbar.
-
Choose PNG format from the export options.
-
The diagram will be saved as a high-resolution PNG image, perfect for embedding into documents, presentations, or wikis.
Share as Web Page
Section titled “Share as Web Page”Create an interactive HTML version that can be viewed in any browser:
-
Click the Export / Share button in the toolbar.
-
Choose Web Page format from the export options.
-
Optional: Configure sharing permissions and set an expiration date.
-
Get a secure link to share with others or download the HTML file.
Interactive Features:
- Zoomable Interface: Viewers can zoom in and out to explore diagram details
- Draggable Tables: Interactive layout adjustment for better viewing
- Responsive Design: Optimized for viewing on desktop, tablet, and mobile devices
- Search Functionality: Find specific tables or relationships quickly
Secure Share
Section titled “Secure Share”Publish your ERD securely using DBCode’s sharing feature:
-
Open your Entity Relationship Diagram in DBCode.
-
Click the Export / Share button in the toolbar.
-
Configure sharing permissions, access controls, and expiration settings.
-
Generate a secure link to share with team members or stakeholders.
Learn more about secure sharing in our Data Sharing documentation.